
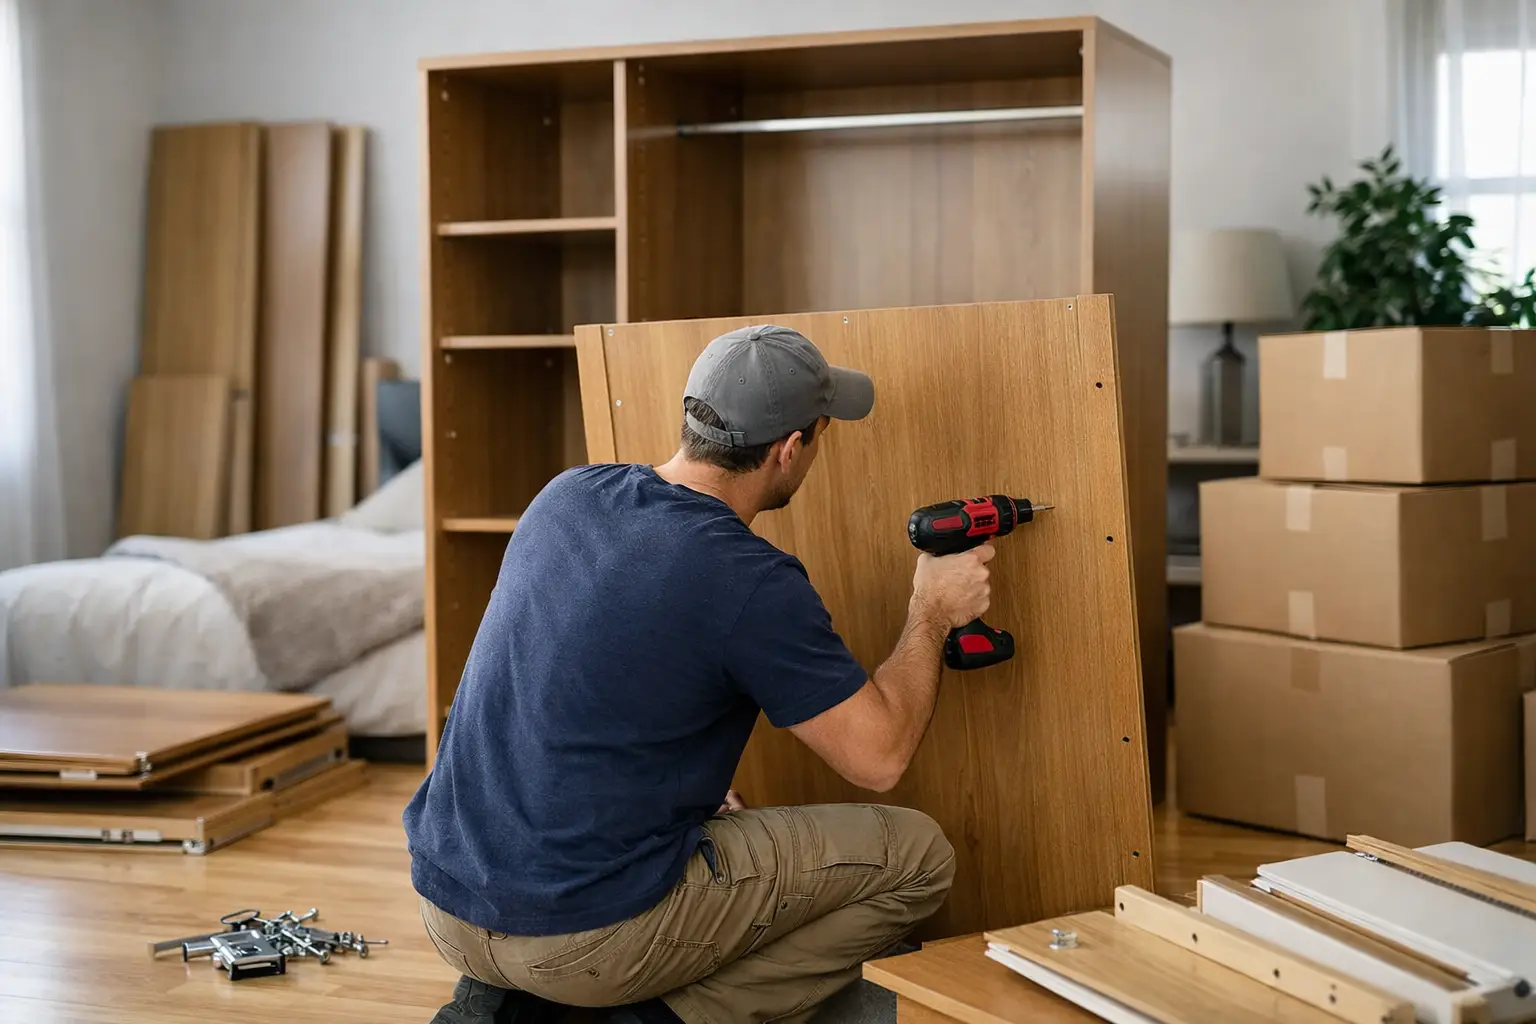
The most irritating part of many moves is not boxing up clothes or booking the van. It is looking at a large, heavy wardrobe full of fittings and realising it will not come out of the door as it is. If you are researching how to dismantle a wardrobe for moving, the right objective is not just to take it apart quickly. It is to dismantle it without breaking panels, without losing screws and without creating a bigger problem at the destination.
In residential moves, the wardrobe is often one of the pieces of furniture that suffers most damage from haste. Doors warp, backs crack, screws go missing and, when it comes time to reassemble, the unit no longer sits firm. With some preparation, this can be avoided. The process is not complicated, but it needs method.
When it is worth dismantling the wardrobe
Not every wardrobe needs to be completely dismantled. If the piece is small, passes easily through doors and staircases and the structure is solid, sometimes it is enough to remove doors, drawers and shelves. That reduces weight and risk without touching the main structure.
For large models, with many compartments, sliding doors or a height close to the ceiling, total dismantling is usually the safest option. This is even more important in blocks with narrow corridors, tight staircases or small lifts. Forcing a passage is often what causes the most expensive damage.
There is also an important point: some cheap wardrobes in chipboard do not withstand many dismantlings. In those cases, it is necessary to assess whether it is worth dismantling very carefully or whether it makes more sense to consider future replacement. It is not the answer anyone wants to hear, but it depends on the quality of the furniture and the condition it is already in.
How to dismantle a wardrobe for moving without losing parts
Before touching a screwdriver, empty the unit completely. Remove clothes, boxes, organisers and any loose items. Then clean the interior quickly. Dust and small debris impair visibility of the fittings and can scratch surfaces during handling.
Next, prepare a simple system for the small parts. Use separate bags and label each one with tape and a pen. You could write something like “left door”, “drawers” or “top, base and side”. This care saves time during reassembly and avoids the classic scenario of leftover screws with no idea where they came from.
It also pays to take photographs before and during the process. Photograph the assembled wardrobe, the internal fittings, the position of the hinges and the order of the parts. For people who do not dismantle furniture every day, this makes a big difference later.
Tools you will normally need
In most cases a Phillips screwdriver, flat screwdriver, Allen key, tape, small bags for fittings, protective blankets and a marker will resolve almost everything. Some models may require a drill with torque control, but only use it if you know exactly what you are doing. Over-tightening or over-loosening can damage chipboard.
If the wardrobe has a mirror, glass or heavy doors, gloves with good grip help. And if the piece is large, do not attempt to dismantle it alone. Even when it seems possible, the risk of panels falling or twisting is high.
Correct order for dismantling
Start with the removable parts. Remove drawers, shelves and hanging rails. Then move on to the doors. For hinged doors, loosen the hinges with someone else supporting the weight. For sliding doors, first observe the track system. Some models require lifting the door slightly before releasing it; others have side locks.
After removing the doors, take out any thin backs, if they are detachable. Many are fixed with small nails or clips and require extra care because they break easily. Then undo the joints between the top, base and sides. Always work from top to bottom and keep the panels supported. Leaving a side unsupported is a quick way to break the unit.
As you separate each panel, identify it. You can use tape with simple notes such as “right side”, “top”, “base” and “central divider”. It seems basic, but it speeds up reassembly considerably, especially after a long day of moving.
Care with sliding doors and mirrors
Sliding doors deserve special attention because they combine weight, delicate fittings and often a mirror. Never place them directly on a hard floor. Use a blanket, thick cardboard or another protected surface. The tracks and rollers should also be wrapped and kept together with their respective door whenever possible.
If mirrors are glued to panels, avoid excessive pressure when transporting. The mirror may not break immediately, but it can crack and give way later. In these cases, correct protection is worth more than speed.
How to protect the parts for transport
Dismantling well is only half the job. Poor transport ruins everything that was done carefully. Each panel should be protected with a blanket, bubble wrap or other suitable material, especially at the corners. Direct contact between panels during transit causes scratches, chips and marks.
The fittings should travel in closed, labelled bags. The best approach is to attach the bags to the corresponding panel with tape, without sticking the tape directly onto sensitive surfaces. That way, everything arrives with the correct part.
Long, thin pieces such as sides and doors should be transported upright only if they are well supported and secured. Otherwise they may bend. In some vans, a protected horizontal position is safer. It depends on the space, the type of furniture and how the load is arranged.
Common mistakes when dismantling a wardrobe
The most frequent mistake is being in a hurry. The second is relying on memory. Many people start without photos, without labelling parts and without separating fittings. In the new property, you waste more time guessing than you would have spent organising at the start.
Another common mistake is using the wrong tool. A stripped screw complicates dismantling and can ruin an important fixing. Some also try to drag the partially assembled wardrobe to “save time”. In practice, this increases the risk of structural looseness and damage to floors and walls.
It is also worth being cautious with backs and clips in chipboard. If something seems stuck, do not force it immediately. Check for hidden screws, dowels or locks. Excessive force almost always ends up costly.
Do it yourself or get professional help?
If the wardrobe is small, simple and in good condition, dismantling it yourself can work well. But in real moves, with tight schedules, staircases, limited parking and several tasks at once, the risk of error rises considerably.
When the piece is large, heavy, mirrored or needs to come from a high floor, professional help usually pays off. Not only for the dismantling itself, but because the work is integrated with protection, transport and reassembly. This reduces time lost, avoids damage and simplifies the logistics of the move.
That is why many people prefer teams that already do removals and furniture dismantling in the same service. The operation is faster and there is less room for improvisation. Companies like The Kings Removals work exactly with this kind of practical need, especially when the client wants to resolve everything with less stress and greater safety.
How to reassemble without compromising the structure
At the destination, assemble the wardrobe only when the piece is already in the right room. It may seem obvious, but it is quite common to assemble in a temporary space and then realise it will have to be moved again. That unnecessarily wears the structure.
Start with the base, sides and main dividers. Only then install the back, shelves, drawers and doors. Tighten the fittings firmly, but without exaggeration. In chipboard furniture, excessive torque reduces the holding capacity. If the floor is uneven, you may need to adjust the positioning before aligning doors and drawers.
If, after assembly, the wardrobe seems unstable, do not ignore it. A small looseness tends to worsen with use and weight. Better to correct it straight away than to wait for a misaligned door or a side to fail later.
Moving is stressful enough. If you are going to handle the furniture yourself, do it calmly, label everything and protect each part as if it will be on display in the new room — because often it will be. And if the wardrobe seems more difficult than it should, that is usually a sign not to risk tackling it alone.